FREE EXPRESS SHIPPING


14-DAY NO REASON RETURN
30-DAY AFTER-SALES GUARANTEE
1-YEAR WARRANTY FOR ALL
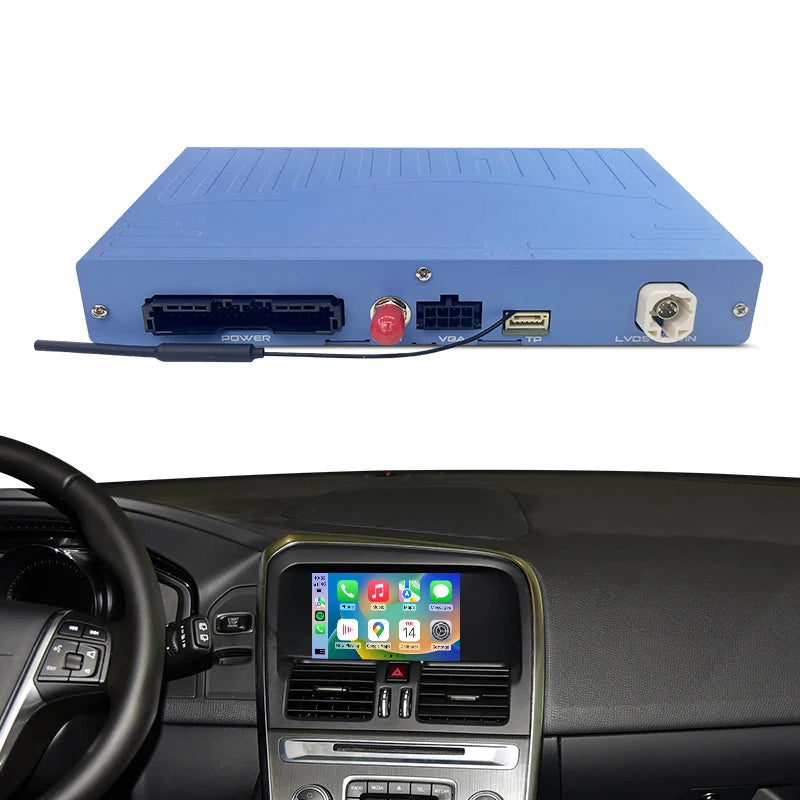
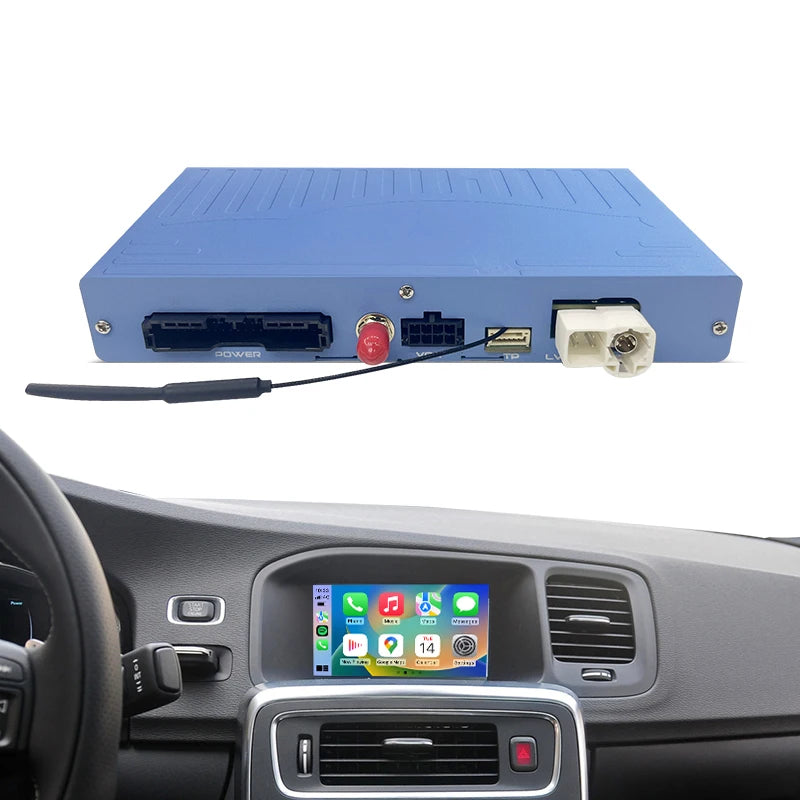
Wireless CarPlay & Android Auto-Volvo V40 V60 XC60 S60 S80 (Factory 7" Screen) Non-Globe Button Systems
Product Features:
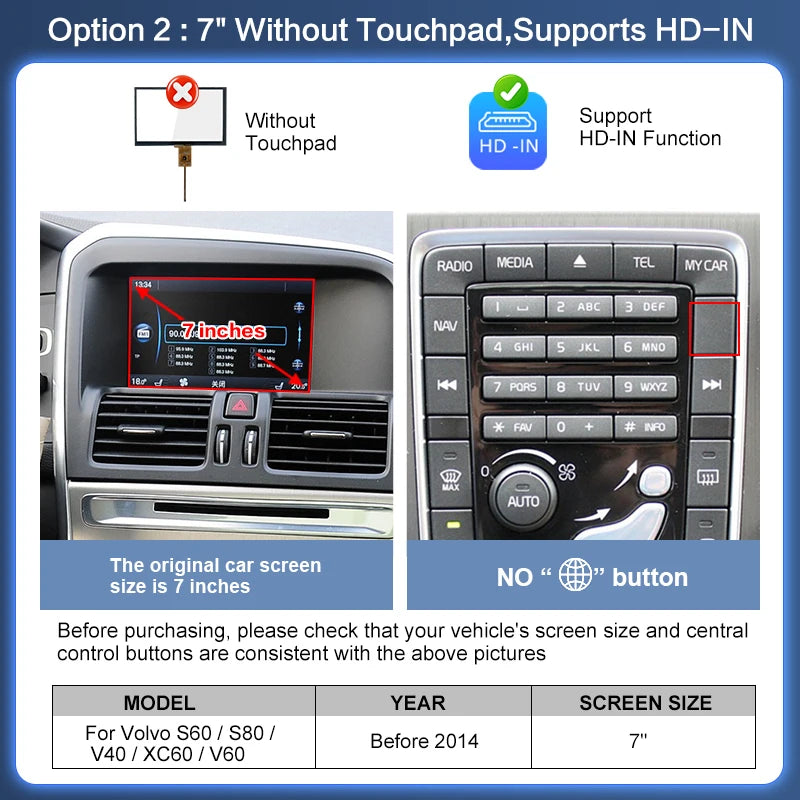
- Strict Fitment: ONLY fits Volvo models with an original 7" screen AND NO "Globe" button on the center console.
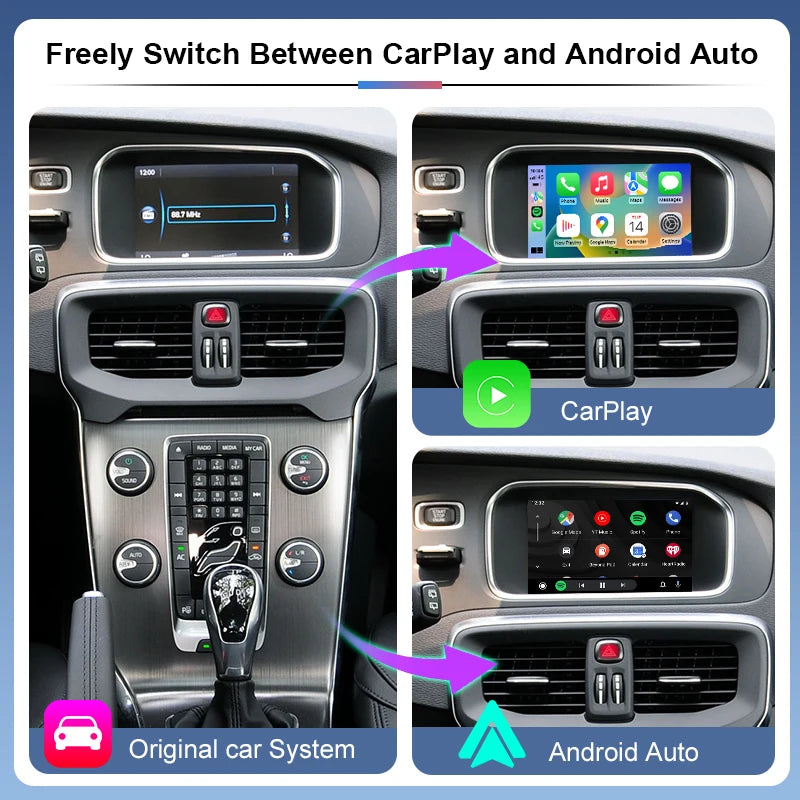
- Wireless Upgrade: Instantly add seamless wireless Apple CarPlay and Android Auto to your factory display.
- OEM Integration: Fully supports your original steering wheel controls and center console rotary knobs.
- Hands-Free Control: Includes an external microphone for crystal-clear Siri and Google Assistant voice commands.
- Plug & Play: Non-destructive wiring. Easily switch between the CarPlay interface and your original Volvo menu at any time.
Couldn't load pickup availability
- Description
- FAQs
- Reviews
- About Upgrade
!! Note:
This smart module is compatible only with Volvo V40, V60, XC60, S60, V70, XC70, S80 (Non-Globe Button )
* Perfect For: Drivers who want CarPlay/Android Auto without replacing the factory screen
-
No “globe ” icon button on the center console
-
different year models require specific cables/modules). Verify compatibility before buying.

🛠️ Frequently Asked Questions & Troubleshooting
Q1: How do I get sound to work through the CarPlay module?A: There are two methods to route the audio, depending on your preference:
- Method 1 (Via AUX): Disconnect the Bluetooth connection between your phone and the original car. Then, go to your Volvo's original media menu and select "AUX" as the audio source.
- Method 2 (Via Bluetooth - No AUX needed):Go to the CarPlay module menu: Settings → Factory Settings (Password: 8888).Turn OFF the "Link Split Audio" option and click OK to reboot.Disconnect your phone's Bluetooth from the original Volvo system.In your Volvo's original media settings, pair and select the module's Bluetooth (named "DC_AUDIO_BT") as the music and phone sound source.
Q2: What should I do if the volume is too low or unbalanced (For DC_Audio Users)?
A: If you are using the DC_Audio Bluetooth method and the sound is not balanced, please try the following:
- Method 1: Go to Settings → General and increase the system volume.
- Method 2 (If still not balanced):Go to Settings → Factory Settings (Password: 8888).Scroll to the very last option on the menu.Change the volume parameter from 0.5 to 1.Click Save and Reboot.
Q3: How do I fix the echo issue during phone calls (The other party hears an echo)?
A: This is a quick setting adjustment for ZTUZAUTO GEN3 modules.👉 Solution: Please go to Menu → Settings → Car → Microphone Mode, and change the option to "Auto Select".
Q4: How do I adjust the Android Auto resolution or enable the Air Conditioning pop-up window?
A: You can enable these advanced display features in the factory settings:
- Go to Settings → Factory Settings (Password: 8888).
- For Android Auto Resolution: Turn ON the "Turn on Android Auto Resolution Adaptation" option.
- For Air Conditioning Display: Turn ON the "Show AC float window" option.
- Click Save and Reboot the system for the changes to take effect.
Q5: What should I do if the screen shows "No Signal," "Black Screen," or "Abnormal Display" after switching to CarPlay?A: Please don't panic! This is usually a simple connection or setting issue. Check the following:
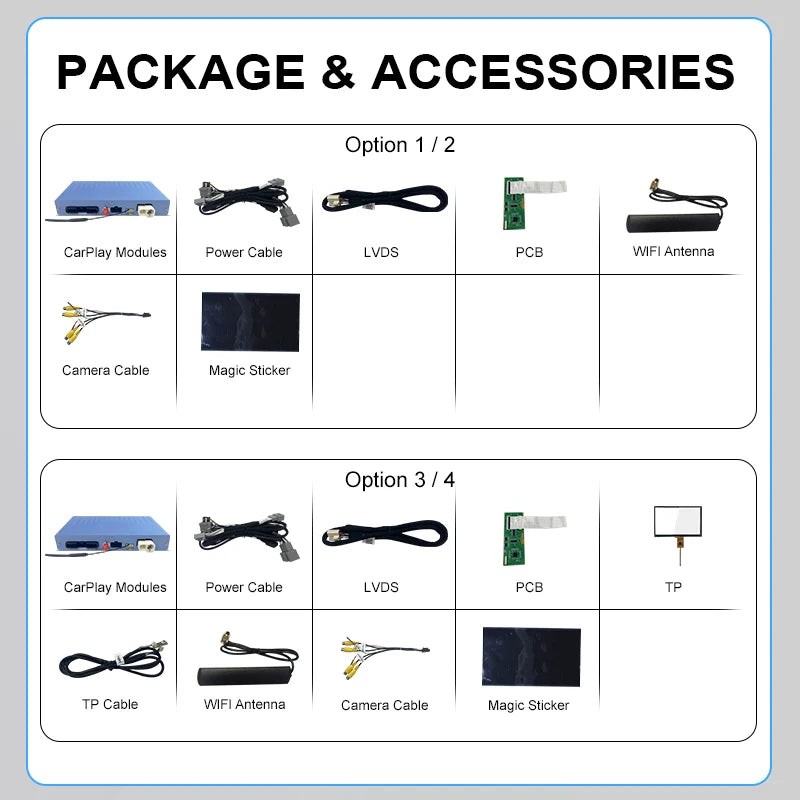
- LVDS Cable: Ensure the LVDS cable is connected correctly according to the schematic. The LVDS connection MUST be routed to the main head unit (host), NOT the transfer screen.
- Pin Check: Unplug the LCD cables and check if any pins inside the ports are bent or not making proper contact.
- DIP Switches: Verify that the DIP switch settings on the module box perfectly match your vehicle model according to the manual. (Note: Always keep the power ON when changing DIP switch settings).
- If everything is correct and the issue persists, please contact our support team.
Q6: What precautions should I take during installation?
A:
- Always Power Off: Ensure your car is completely turned off before disconnecting or connecting any wiring harnesses.
- Test Before Reassembly: After plugging everything in, lock the car for a few minutes, then start it to test all functions (sound, display, steering wheel buttons). Do not reassemble the dashboard panels until you confirm everything works perfectly!
Q7: I need technical support. What information should I provide?A: We are always here to help! To solve your problem quickly, please collect the following information before contacting us via WhatsApp or email:
- Your Order ID & Car Model / Year.
- Your original screen size (e.g., 7-inch).
- A clear picture of your current DIP switch setup on the box.
- A clear picture showing how your LVDS cables are connected.
- A picture of the module's System Version (Go to CarPlay menu → Settings → About).
Gen3 -Volvo (with a "globe" button), air conditioning display is incorrect, requires MCU upgrade.
Download Link: https://bit.ly/4bqMmAq
Upgrade Steps:
1.Prepare USB: Format a USB flash drive (max 32GB) to FAT32.
2.Copy Files: Extract the package and copy the file "Limcet-D-Config" to the root directory of the USB drive.
3.Initiate Update: Switch to the CarPlay interface, then insert the USB drive.
4.Completion: The process takes about 3.5 minutes. Once "Update Successful" appears, remove the USB drive.
Android Auto resolution adjustment : https://youtu.be/HcQkuh5fCRo
After the upgrade is complete, you need to enter the module settings →Password:8888→ turn on the "Turn on Android Auto Resolution Adaptation " option → Save → Reboot
Air conditioning pop-up display:
After the upgrade is complete, you need to enter the module settings →Password:8888→ turn on the "Show AC float window " option → Save → Reboot
OTA Update Guide- ZTUZAUTO 3rd Gen CarPlay :
https://www.youtube.com/watch?v=ypzKC6BXMck
ZTUZAUTO 3rd Gen CarPlay upgrade steps :
Step1 : Navigate to [Settings] > [WIFI] and connect to the same wireless network as your phone.
Step2 : Access the [About] page, then select [System Upgrade] to enter the OTA upgrade interface. A QR code will be automatically displayed. If not, select [Refresh QR Code] to reload.
Step3 : Scan the QR code with your phone to open the upgrade page, which will indicate whether a new version is available or the device is already up to date.
Step4 : After completing the upgrade steps on the phone, the device will verify the upgrade file and automatically launch the corresponding upgrade program.